


Growing up, carving pumpkins was a favorite family tradition.
I’d love to carry on this tradition in the future, but, as a mom of two toddlers, I’m not quite ready to get the carving tools out.


Here are four ways to decorate a pumpkin with your family (no knives required)!
4 Non-Carving Options to Decorate a Pumpkin
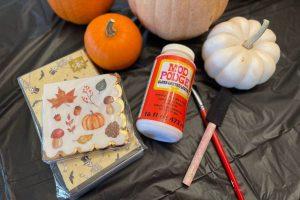
1. Mod Podge
Mod Podge is water-based and non-toxic. For this application, you only need Mod Podge (which can be purchased at any craft store or big box store) and napkins with a fall or Halloween print. I suggest a patternered napkin with a print that is easy to cut shapes from.
- Open your napkin, and cut your print into smaller pieces. You can skip cutting all together and just try applying the napkin, but results may be thicker and more bunched.
- Apply Mod Podge to your pumpkin, and then add the pattern, and Mod Podge again over the top.
- Repeat until desired coverage is reached. You can then set it out to dry, 30-45 minutes.
I love this application because it looks quite beautiful and gives it a painted look!
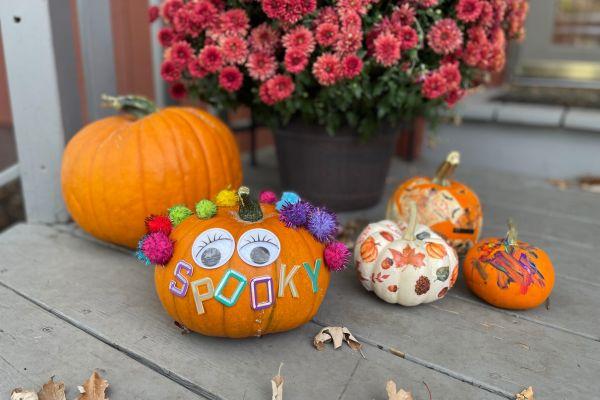
2. Pom-Pom, Googly Eye, & Sticker Application
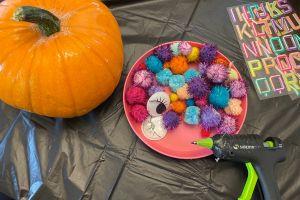
The next method is to hot glue pom-poms and googly eyes to your pumpkins. You may apply self-adhesive googly eyes or if needed, glue them on.
Now it’s time to apply pom-poms. You can choose a flat color, or some with a metallic shine. Whatever looks best to you! I recommend using hot glue because Elmers Glue did not seem to hold the pom-poms in place. Adult supervision will be required if you’re working with smaller fingers!
- Apply small glue dots around the pumpkin, working small sections at a time, and wait a few seconds for the glue to become tacky.
- Your little can then pick out pom-poms and apply them to the dots.
We completed our pumpkin by using some self-adhesive letters to spell out “SPOOKY.” Craft stores generally have plenty of sticker numbers and letters to choose from.
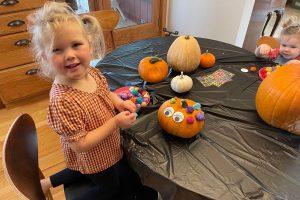
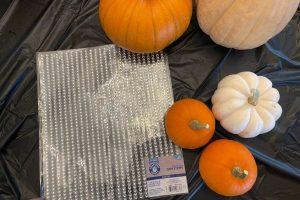
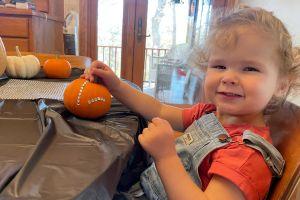
3. Self-Adhesive Gems
My two-year-old loved applying gems to her pumpkin! I bought a large sheet of self-adhesive gems. I pulled off a few in various lengths and handed them to her to apply to her pumpkin.
This was actually a great opportunity for her to develop her fine motor skills, concentration, and creativity.
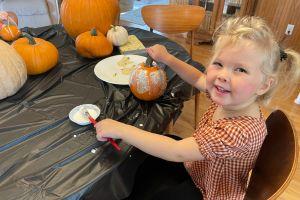
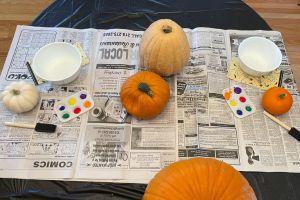
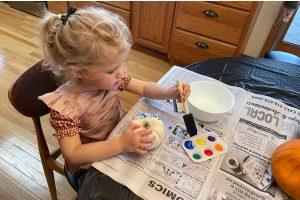
4. Paint Your Pumpkin
Wipe and dry your pumpkin before paint application. Then, select a few non-toxic paints. You can give the colors to your child individually, or allow them to work freely with several colors from a pallete.
For younger children, this is a good opportunity to talk about colors! What color are you using? Direct them in understanding what colors to mix. You can say something like, “When you mix blue with a little of that yellow, you’re going to get GREEN!” You can even introduce white and blacks into your pallette to teach them about color value: the relative lightness or darkness of a color.
Use these methods as a way to create new family traditions. These are just a few methods of decorating a pumpkin that teach artistic expression, creative technique, and fine motor skills.
If you create a pumpkin using these methods, we would love to see what you come up with! Tag us @fargomomco on social media or email us at [email protected].
Happy decorating!
Looking for more Halloween fun? Check out our Ultimate Guide to Halloween & Fall Activities in Fargo!


