Valentine’s Day is quickly approaching. As a mom, this means that we need to have individual valentines for our kids to hand out at school. When my oldest was in preschool, I thought it would be fun to spend a little time with her and create some of our own! This was more meaningful for us, and it was something different than the standard character cards with a sticker or tattoo.
This year I have three kids in school and making our own valentines will still be fun! Last year we gave crayon hearts attached to a small color-able valentine. Since we’re in new schools this year, we are going to do it again. This time, I share it with you!
How many of you have broken crayons scattered in a drawer, cupboard, pencil box, or purse? I sure do. I save all the free crayons my kids get – from restaurants, prize bags, and party favors, including the broken ones. Don’t throw away the broken ones! This is the project for all those extras.
Supplies:
- Oven
- Crayons
- Silicone Mold (Note: I use a heart mold because of Valentine’s Day, but you could use any molds shape you find in stores or online.)
Step 1: Heat oven to 230 degrees.
Step 2: Peel the paper off the crayons. The simplest way is to let the crayons soak in a bowl of warm water. The water should dissolve most of the adhesive on the paper.
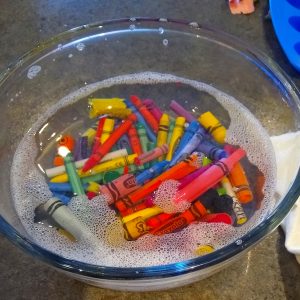
Make sure the crayons are free of any paper or adhesive before moving to the next step.
Step 3: Sort and break crayons.
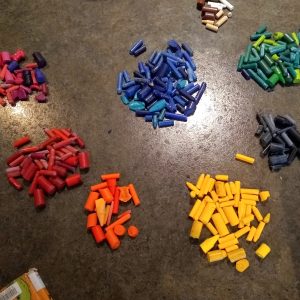
I chose to sort the crayons into color families. You wouldn’t have to sort them, but I like having single-colored crayons. The sorting was a fun way to include the kids, especially my preschooler and kindergartner. Sorting is an important skill for them, and it takes a piece of the work away from me!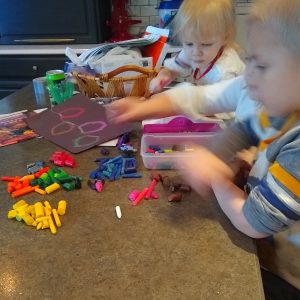 You can be creative or deliberate in your color choices! Once you’ve sorted (or not), you want to break the crayons into pieces small enough to fit in the molds.
Step 4: Fill the molds with the broken pieces.
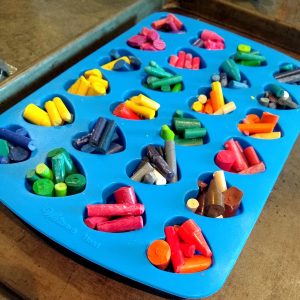 You want the molds to be full. They’ll initially look like they’re overflowing because the pieces won’t fit perfectly. When they melt, they’ll fill in the empty spaces.
Step 5: Melt the crayons in the oven.
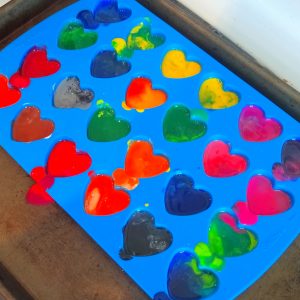
I recommend putting your silicone mold on a baking tray for stability, but you wouldn’t have to. Bake at 230 degrees for about 15 minutes. Most crayons will melt well in this time. Some brands of crayons will still hold their shape a bit. As long as they’ve mostly melted and filled in the heart shape, they’re good!
Step 6: Let cool completely. Since it’s winter, and living where we do, you can set them outside to cool faster! Once cooled, you can remove them from the molds.
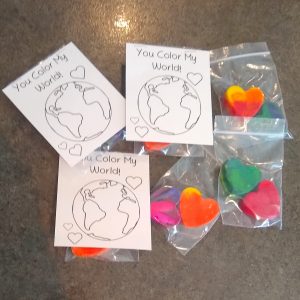
Now you can package them as you see fit! I put them in small baggies. The jewelry ones you can find by the beads in the craft store are great. I then attached them to a little printed card. See this printable for an option! If this isn’t what you want, you can always put them together in a little cellophane bag or find other creative solutions from a craft store.
Your little ones will have fun making these with you, and they will have a unique and fun Valentine to share with their friends!
Looking for more DIY valentine options? Check out our other valentines posts here and here!


