Making Valentine’s crafts for toddlers can be tricky. They are curious explorers, but also fantastic mess makers.
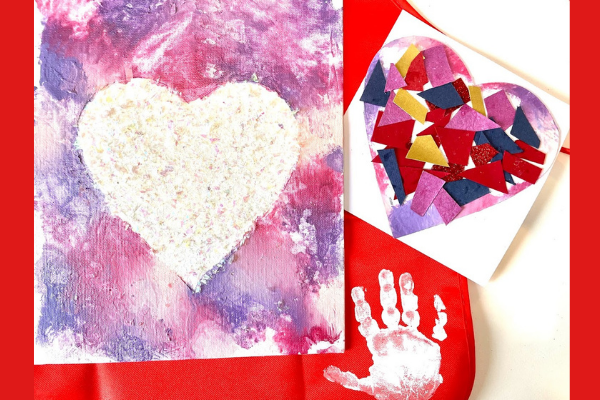
Here are three toddler-friendly Valentine’s Day crafts to do with your little that are fun and make for a (mostly) easy clean-up.
Bonus: these projects can also be a great opportunity for you to explore color and shapes with your toddler!
Toddler-Friendly Valentine’s Day Crafts
Mess-Free Confetti Finger Painting
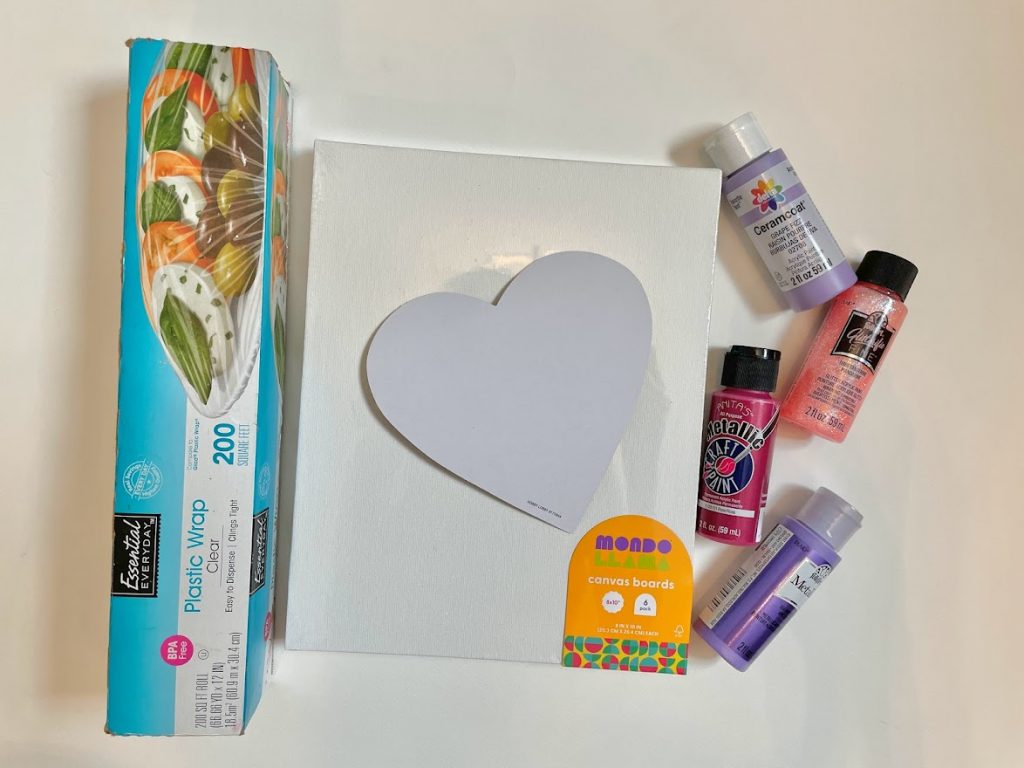
Supplies:
Flat Canvas Board
I used Target’s Mondo Llama brand.
3-4 Acrylic Paints
Include metallics or glitter-based paints for added variety.
Plastic Wrap
Heart-Shaped Cutout
I used sticky-backed cutouts for easy application and removal
Modge Podge
Confetti (or Glitter)
Directions:
1. Apply your heart-shaped cutout. Make sure to press it firmly so that paint will not seep in under the design.
2. Apply small dots of paint all over the canvas. Cover with plastic wrap (a Ziploc bag could also work).
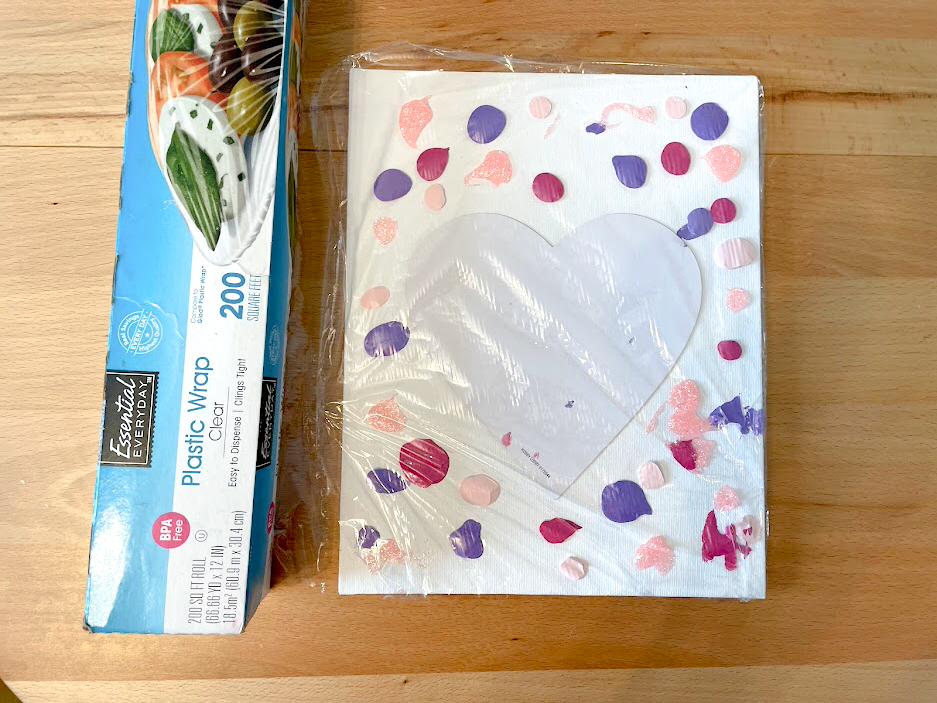
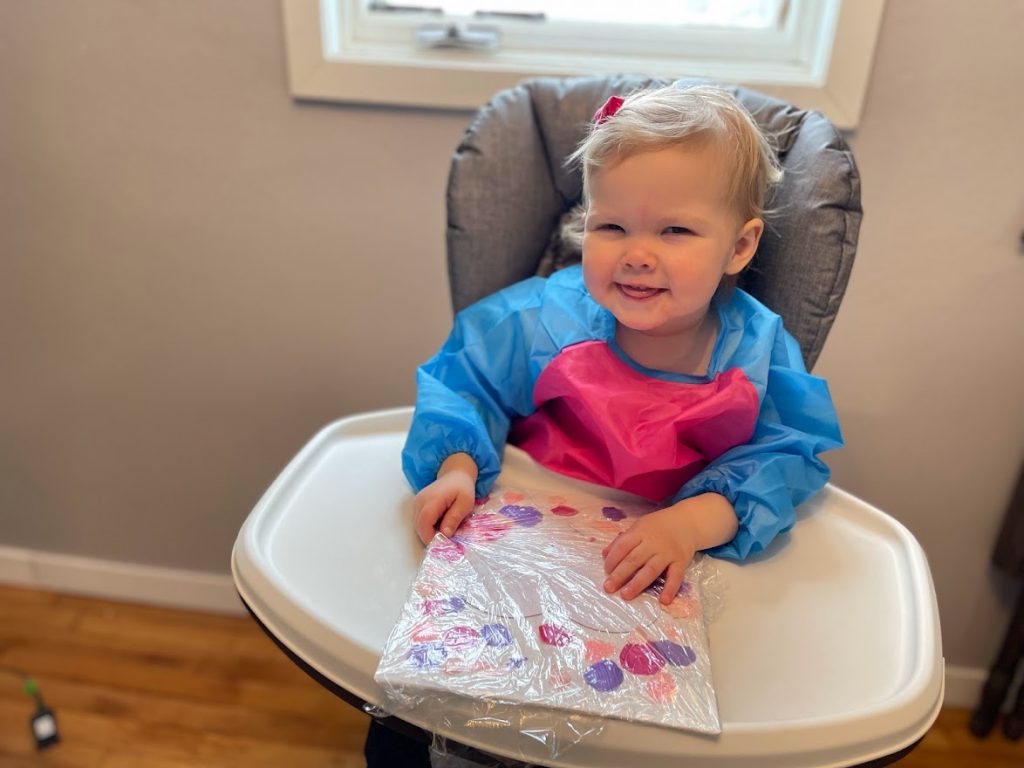
4. Encourage your toddler to explore pushing and smudging the paint colors around the canvas. Help them identify and name colors.
5. Set paint to dry or use a hairdryer to dry.
6. Remove the heart-shaped cutout.
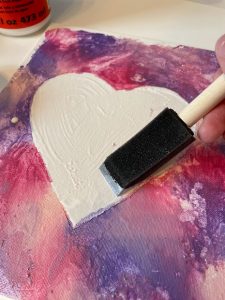
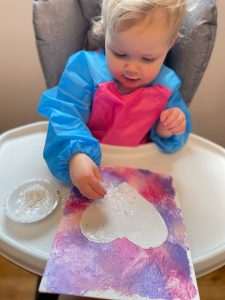
7. Apply Modge Podge to the inside of the heart shape. If you have an older child, you can encourage them to do this step.
8. Encourage your toddler to sprinkle the confetti in the heart shape. Use words like “soft” when they pick up the confetti. You can also encourage them to gently “pat, pat” the confetti onto the canvas. You can also say things like “on,” “the confetti goes ON the paper!”
Sensory exploration is wonderful for language development.
9. Lightly turn the canvas over and tap to remove excess confetti. Set aside for Modge Podge to dry.
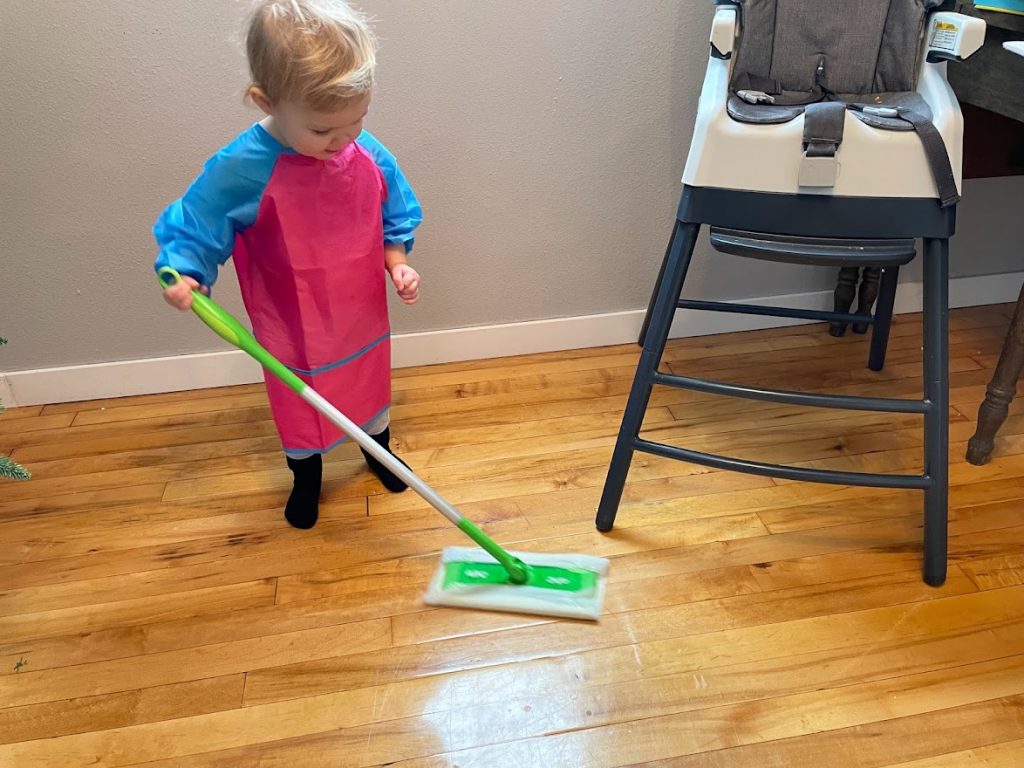
10. Clean up! Your little might even assist you with the cleanup!
Apron Handprint
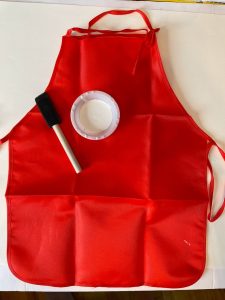
Supplies:
Apron (adult or child size)
Non-Toxic Acrylic Paint
Paint Marker (optional)
Foam Paint Brush
Directions:
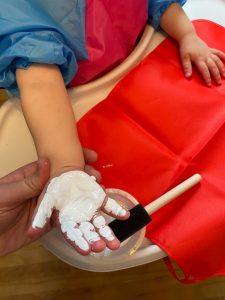
1. Apply white paint to your toddler’s hand.
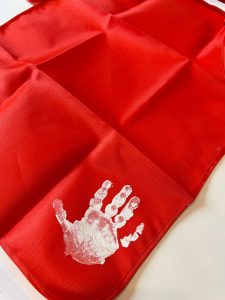
2. Press onto apron.
3. Set aside to dry.
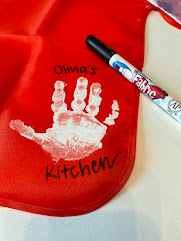
4. Optional: Write out a fun message, or add additional details with a paint marker. We wrote “Olivia’s Kitchen” for added fun!
Paper Mache Card
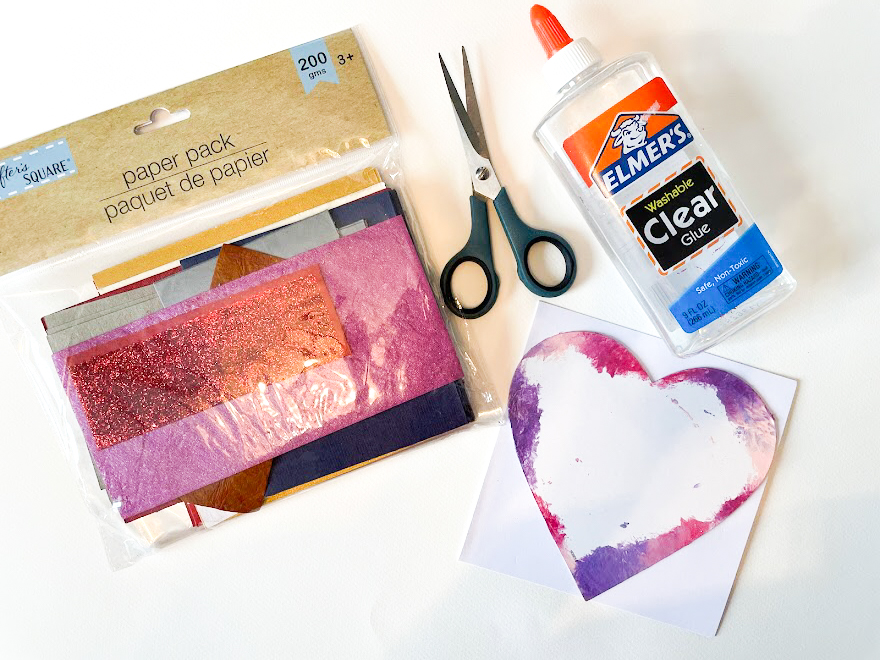
Supplies:
Blank Card
Heart-Shaped Cutout (reuse from the mess-free finger painting project above!)
Variety of Paper
Elmer’s Glue
Directions:
1. Apply your heart-shaped cutout to the center of the blank card. Make sure to press it firmly so it sticks, or use glue.
2. Cut up your paper into a variety of shapes and sizes.
3. Apply glue to the heart shape.
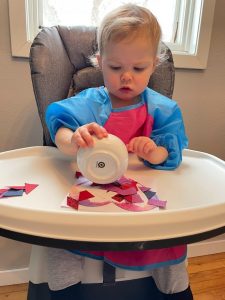
4. Encourage your toddler to place the paper pieces onto the heart shape. This is a good opportunity to talk about the colors and shapes they see. You can use words like, “push” to describe what action they are taking, promoting language development through sensory exploration.
5. Set aside and let the glue dry.
Your completed projects can be split up and given to various loved ones or you can put them nicely together as one gift!


